
Di dunia perjudian daring, mesin slot telah menjadi salah satu permainan yang sangat diminati oleh para pemain. Namun, sebagai pemilik
Continue reading
kabar seputar teknologi dan informasi
Di dunia perjudian daring, mesin slot telah menjadi salah satu permainan yang sangat diminati oleh para pemain. Namun, sebagai pemilik
Continue reading
Seringkali, pemain terjebak dalam kesalahan cara bermain slot Zeus mudah JP, sehingga memicu kekalahan dalam bermain. Sejak tahun 1894, slot
Continue reading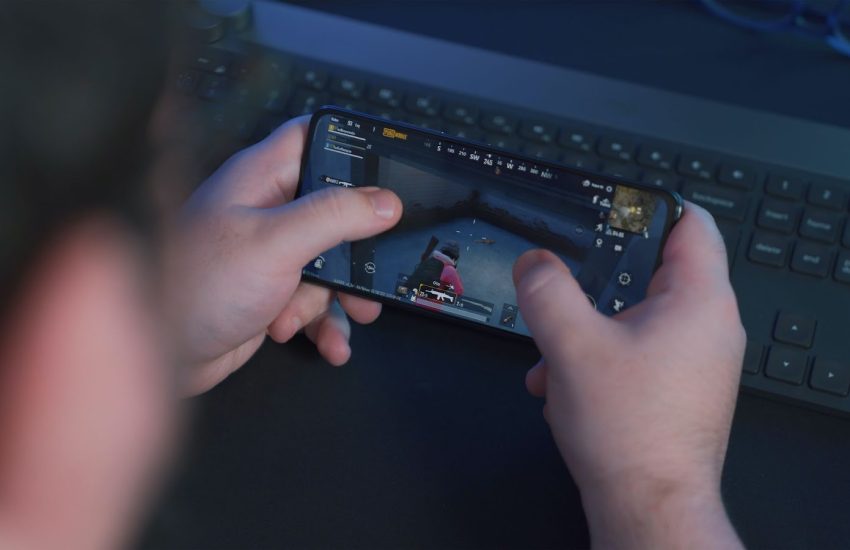
7 Rekomendasi HP Gaming dengan Spek Gahar Unsplash Apakah kamu memiliki hobi bermain game di smartphone? Apakah kamu ingin tahu
Continue reading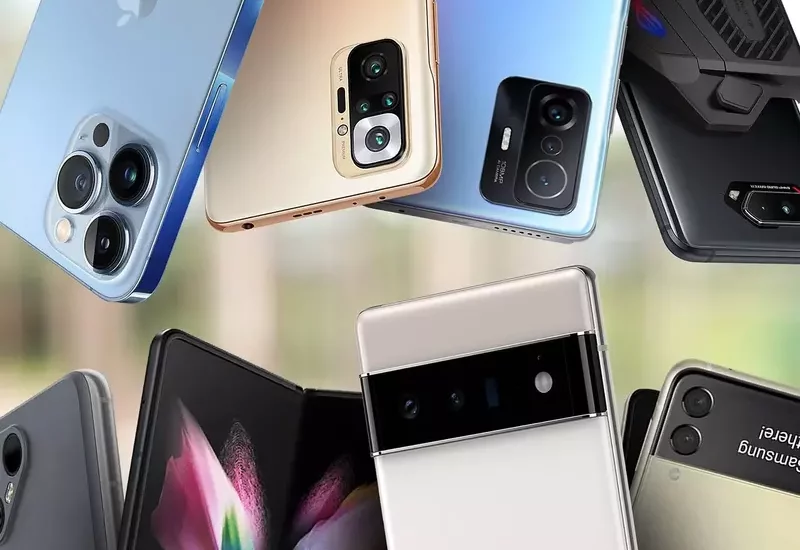
Tahukah Anda dibalik segala kelebihannya ada sejumlah kelemahan Snapdragon sebagai salah satu chipset terbaik besutan Qualcomm. Melansir dari beberapa sumber,
Continue reading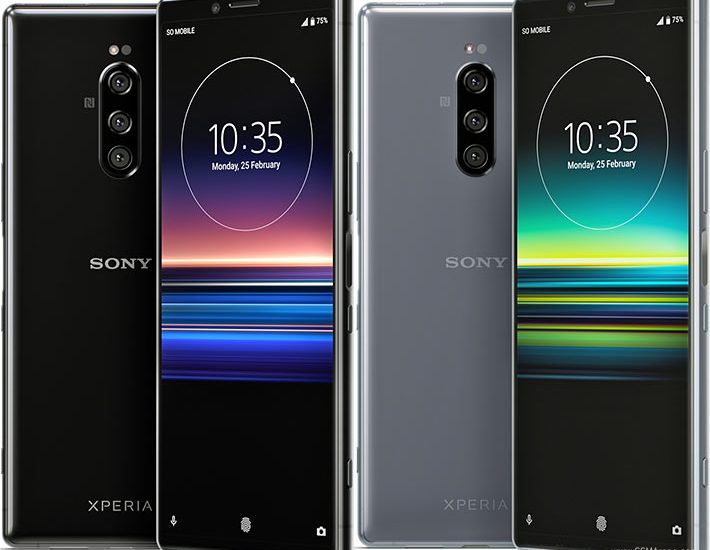
Sony Xperia 1: Ponsel Laris Dari Perusahaan Ternama Yang Pas Untuk Cinematic Pastinya Anda pecinta gadget sudah tidak heran lagi
Continue reading


